How to create a bootable USB stick with a UEFI shell (AN31)
| Affected Products | All products featuring UEFI |
|---|
Preface
This application note describes how to create a bootable UEFI shell USB stick. Most recent congatec products featuring UEFI firmware can boot such a stick.
UEFI Shell Introduction
UEFI provides a shell environment, which can be used to execute other UEFI applications, including UEFI boot loaders. Apart from that, commands available in the UEFI shell can be used for obtaining various other information about the system or the firmware, including getting the memory map (memmap), modifying boot manager variables (bcfg), running partitioning programs (diskpart), loading UEFI drivers, and editing text files (edit).
There are two methods used for launching UEFI shell. UEFI firmware implementations may offer a built-in shell. This shell can be directly booted by assigning it as ‘First boot priority’ or selecting the Built-in shell as the boot device in the first boot menu.
congatec embedded BIOSes do not offer built-in shell for security reasons. Built-in shell may allow users the possibility to bypass security mechanisms that are contained within the BIOS.
Given that, another solution must be used and this involves creating an appropriate USB flash drive with the compiled version of the shell on it. The procedure how to create such a bootable USB flash drive is explained in this document.
Note:
On some congatec products one must set the 'Boot Priority Selection' setup node to 'Device Based' to enable the ability to assign the built-in UEFI shell a fixed boot priority. 'Type Based' boot priority selection only supports legacy boot options.
In addition to that, the 'Boot Option Filter' setup node must not be set to 'Legacy Only' for UEFI compatible boot devices.
Making a UEFI boot USB stick the first boot device is always possible with the aid of the First Boot Menu which can be launched by pressing F11 at the end of POST.
Procedure to Create the UEFI Shell Stick
Prepare the USB stick
There are no special requirements for the USB MSD device used. Simply create a FAT32 partition on the storage device.
.png)
Download the UEFI Shell Binary Files
The EDK2 UEFI shell binaries can be downloaded from the links below. There are two separate UEFI Shell binaries for 32bit and 64bit x86 PC architecture. Most modern PCs are running in 64bit mode but in order to create a universal UEFI Shell stick it is recommended to support both architectures.
- For 32bit (Ia32): https://github.com/tianocore/edk2/blob/UDK2018/ShellBinPkg/UefiShell/Ia32/Shell.efi
Download and save the UEFI shell binaries for the 32 bit (Ia32) and the 64 bit (X64) architecture in a directory of your choice. In this example:
UefiShell\X64directory for 64 bit PC architectureUefiShell\Ia32directory for 32 bit PC architecture

Figure 2: Files in UefiShell\x64 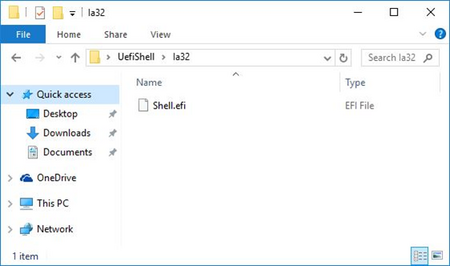
Figure 3: Files in UefiShell\la32
.png)
.png)
- Rename the
Shell.efifile in \x64 toBOOTX64.efi
- Rename the
Shell.efifile in \ia32 tobootia32.efi
Copy the UEFI Shell Binaries on the Stick
Create the following directory structure on the USB stick: efi\boot\
Copy the BOOTX64.efi and the bootia32.efi files into this directory.
.png)
Boot to the UEFI Shell
Attach the USB stick to the system running a UEFI enabled congatec BIOS firmware.
Either press F11 to open the BBS Boot Menu and select the UEFI USB stick.
.png)
Or select the USB stick as first boot device in the Device Based Boot Priority list in BIOS setup.
.png)
Note:
The UEFI shell can not be selected in the Type Based (default) Boot Priority list because only legacy boot devices are supported by the Type Based list.
The 'Boot Option Filter' setup mode in the CSM sub menu must not be set to 'Legacy Only' for UEFI compatible boot devices.
Conclusion
If all the above steps are followed correctly, the USB stick you created provides you with the ability to utilize the UEFI shell within your system.